Monday, 31 January 2011
Level Building

Friday, 28 January 2011
Time Management

Unity Progress So Far…
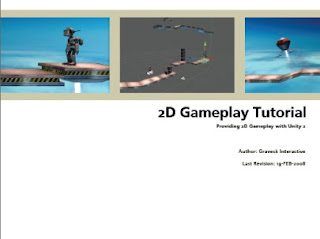
Immediately after my first hand-in, I knew it would be important to come to grips with Unity as early as possible. Therefore, I went back to the 2D gameplay tutorial that I started in BA7, and began to work on it further.
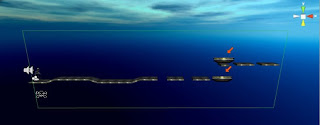
This tutorial gives you a work file and a pdf document. Last term, even though I followed the pdf closely, I still found myself with errors, such as the character respawning when he jumps. After researching, it was extremely simple to fix and I even got my character to respawn after falling down a hole. I then made a few platforms to jump to, and adjusted the camera.
Here are the things I learned from the Tutorial:
• Learned how to restrict movement to a 2D plane;
• Built level with tileable platforms;
• Set level boundaries;
• Been introduced to Gizmos;
• Explored the fundamentals of setting up a Character;
• Explored the complexities of setting the camera;
• Seen how to make a strict orthographic camera view;
• Learned how to place and make Rigidbodies;
• Used waypoint system to create moving platforms;
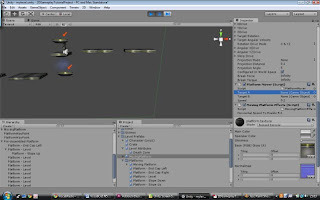
Also in the tutorial, I learned about “Skyboxes.” A skybox is a special kind of background which makes the level environment look bigger. The skybox’s image is made by cube mapping, which involves putting six different textures on cube faces.
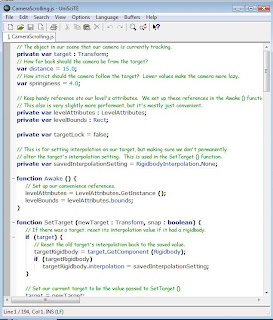
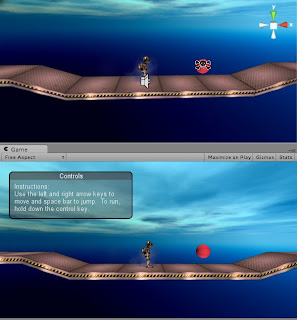
I firstly wanted to add enemies to the game which move around and destroy the player on contact. Since this mechanic was not on the 2D gameplay tutorial, I had to look up how to do this myself using scripting. The 2D gameplay tutorial only used Javascript, yet the coding I used for the enemy was in C#. I changed the enemy’s code from C# to Javascript using the script reference on the Unity Website. This was a very helpful resource, as it showed script examples in different languages. I used a simple sphere to represent my enemy. Fortunately, the mechanic worked.
Wednesday, 26 January 2011
Monday, 24 January 2011
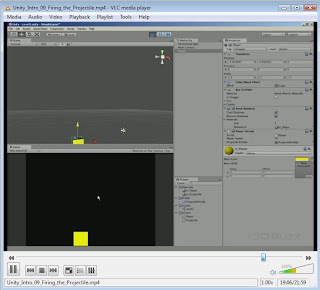
Modelling Warm-Up: Projectiles
